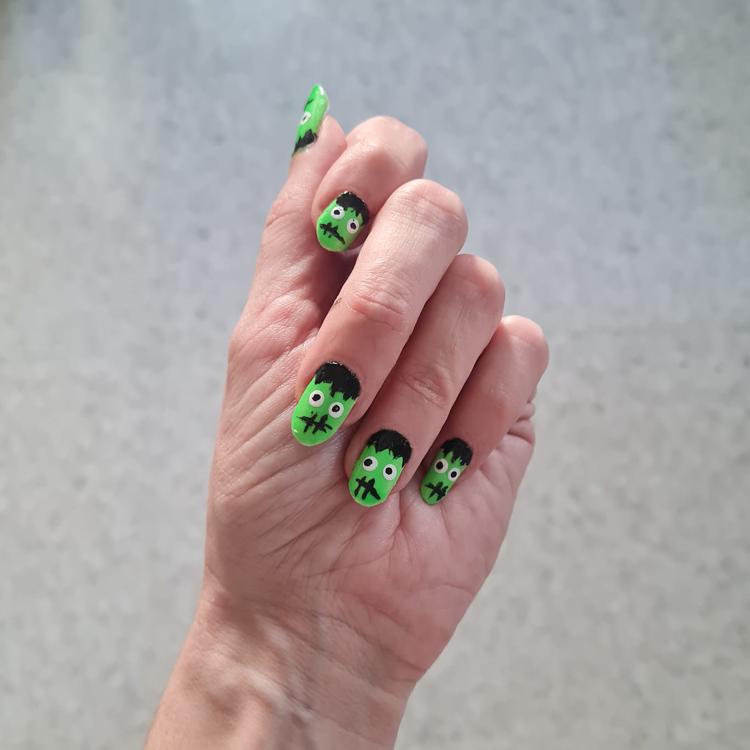
Okay let’s get one thing out of the way, it’s Frankenstein’s monster, but saying Frankenstein Nails is way easier than saying Frankenstein’s monster nails, so let’s just run with it: Frankenstein Nails it is. I got into Halloween and ‘spooky season’ earlier than usual this year because my best friend has been sending me pictures of all the cool Halloween decorations she’s been finding ever since August. I ended up getting more into the spirit too and decided to get involved with some Halloween nail art. After going through pages and pages of inspo I settled on Frankenstein nails. Tbh I don’t even know if Frankenstein’s monster was green, and I have to shamefully admit that I’ve never read the book – I’m not into horror, and non-fiction is more my thing when I do find time to read.
- - - Advertisement - - -
I spread the steps of this nail art over a weekend as I like to wait at least an hour between coats of nail polish. I always give five to ten minutes of drying then I go back to whatever I was doing (generally it is typing or researching for The Fashion Fold, so I am just extra careful with my mouse and keyboard for a while). I’ve taken pictures of (almost) every step and they’re all below in this Halloween nail art how-to – I hope you find it useful and inspiring.
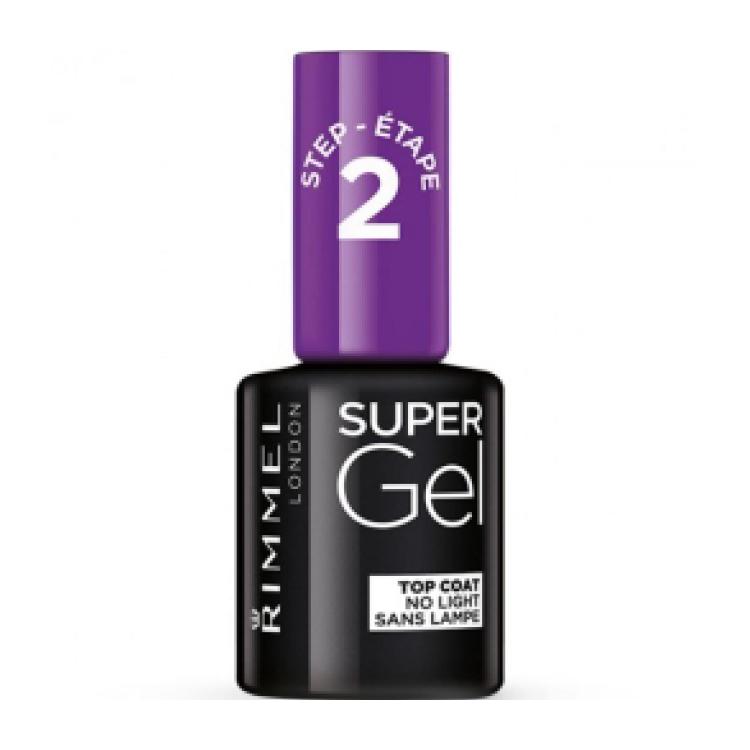
On Saturday I got as far as green nails, then on Sunday I added all the detail and the top coat to finish off my Frankenstein nails. I added more top coat the next day, then again after a week just to make sure that the nail art stayed intact. I’m using Super Gel top coat by Rimmel (Shop in EUR here, shop in GBP here) and it is by far the best one I’ve ever used – it’s been a week now and I haven’t had any chipping at all, and it looks like I just painted them this morning. I couldn’t find anywhere to buy it in USD, but if you know anywhere that stocks Rimmel, see if you can find some – it’s amazing!
Below are the steps, followed by shopping links if you’d like to find products similar to what I used – choose your currency: EUR, GBP, USD.
- - - Advertisement - - -
Halloween Nail Art – Frankenstein Nails How-To
Step 1 – Base Coat(s)
First step is a base coat which helps the nail varnish stick better and last longer. It feels like an unnecessary step, but it really makes a difference.
Next is a step that I always take when I’m using bright or light colours: I apply a coat of white nail varnish. This helps the colour of the next coat of nail varnish come through much better. I wanted my Frankenstein nails to be a really bright green, so the white base coat was essential for this nail art.
Step 2 – Green Base
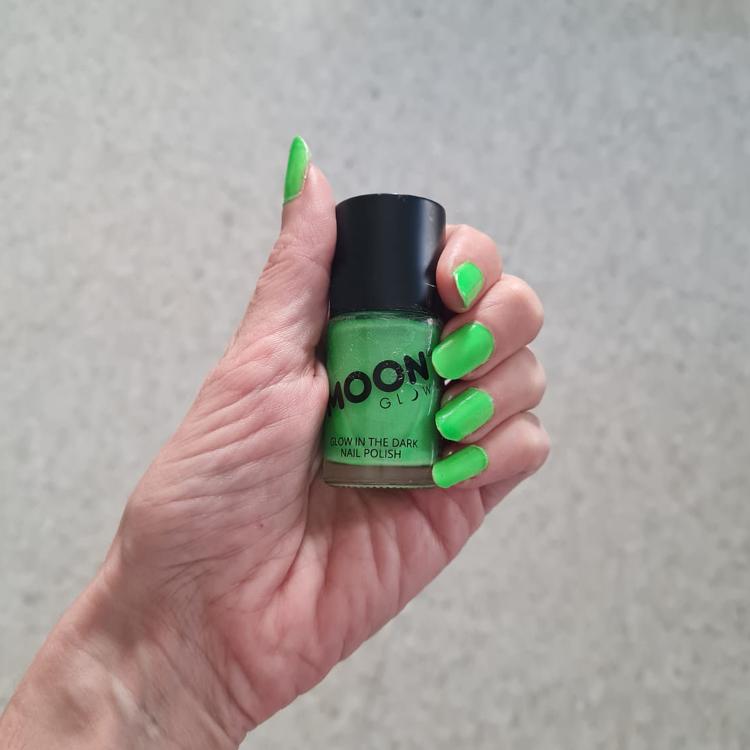
I don’t normally wear green nail varnish, and the only green I had was this glow-in-the-dark polish from Moon Glow. I’ll be honest: it was very watery and I needed three coats to get good coverage. The third coat needed overnight drying as I put it on really thickly in desperation because the white base coat was still showing after the first two coats! I wouldn’t really recommend using it unless you really wanted your nails to glow in the dark, but my nails hardly even glowed, and then after applying top coat, the glow even less visible. I’m assuming they’ll glow under UV light though, and that would look cool.
- - - Advertisement - - -
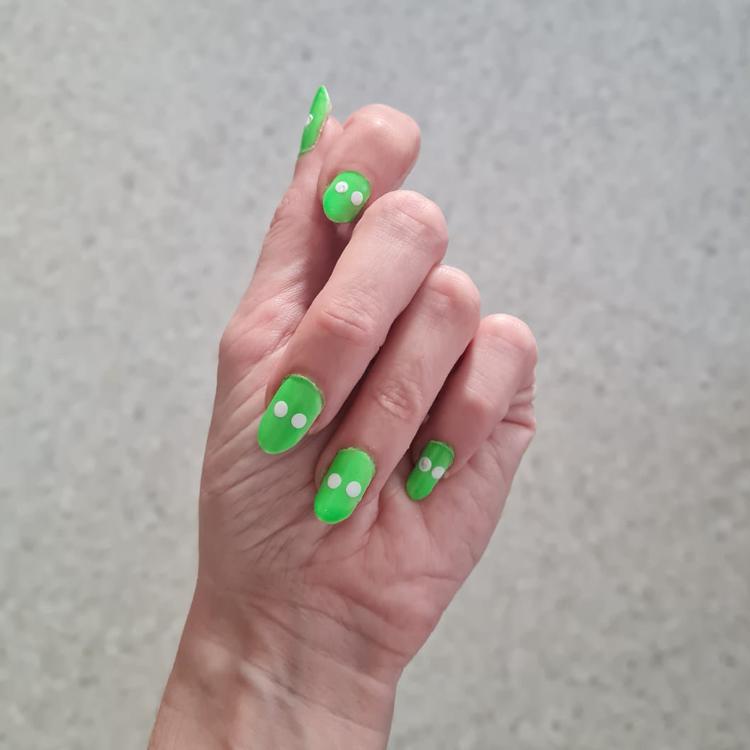
Step 3 – Adding the Eyes
I poured out some white nail varnish and used a large dotting tool to add two white circles to each nail. I found it best to slowly press down onto each nail so that the nail varnish would spread out from the dotting tool, then to wipe the dotting tool on a tissue before doing the next eye. I didn’t coat the tool completely, I just quickly dipped it into the varnish once then tapped it on the paper so there wouldn’t be too much on there.
- - - Advertisement - - -
Step 4 – Adding the Pupils, Hair and Mouths
First I used the smallest dotting tool to add pupils to the eyes, again making sure to clean the tool between each dot, and tapping on the paper after each dip. Next I used a medium-thick brush for the hair. I found it best to draw some V-shapes coming away from the nailbed and then join them together with a half-moon towards the nailbed. For the mouth I used a thin brush and first drew a horizontal line on each nail then I went back and drew two small vertical lines over that. I also used the thin brush to clean up the hair a bit.
- - - Advertisement - - -
Step 5 – Top Coat
Once all the details seemed dry, I applied a thick layer of top coat to finish off my Frankenstein Nails. I used the Super Gel top coat by Rimmel for the first time, and I will never use anything else after trying it! The day after, I applied another layer, then after one week, another. My nails still look good as new, seven days in.
- - - Advertisement - - -
Product Suggestions – EUR & GBP
A lot of these suggestions are available both in Euros and in Pounds so I’ve combined them together here:
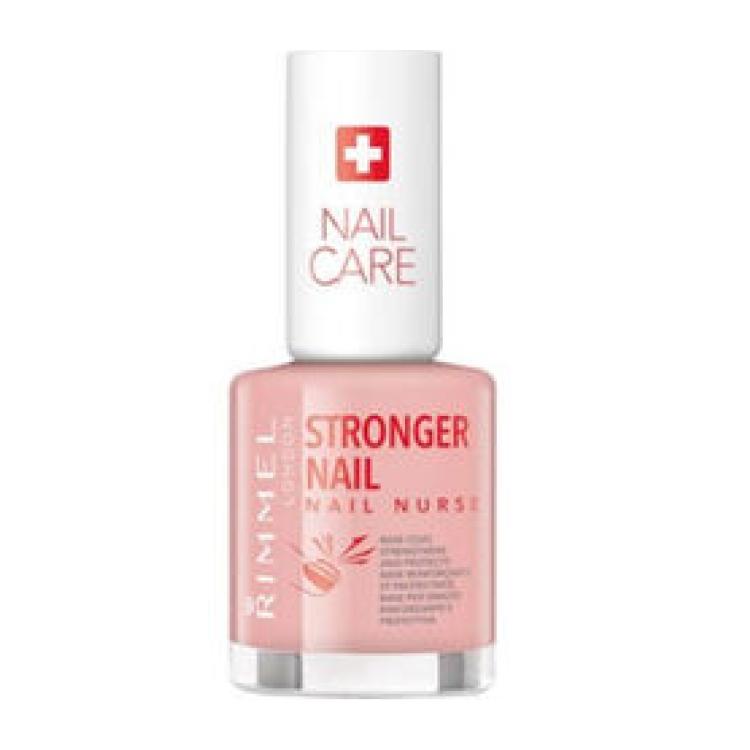
Rimmel London Stronger Nail Nail Nurse Coat
Buy now: €8.68 at Beauty The Shop
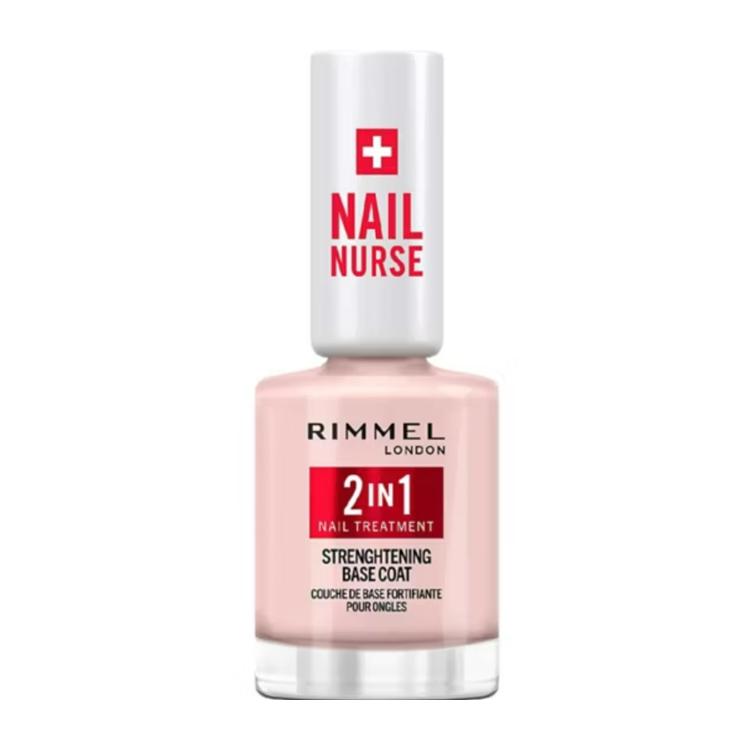
Rimmel Nail Nurse 2 In 1 Base Coat & Strengthener
Buy now: £4.99 at Boots
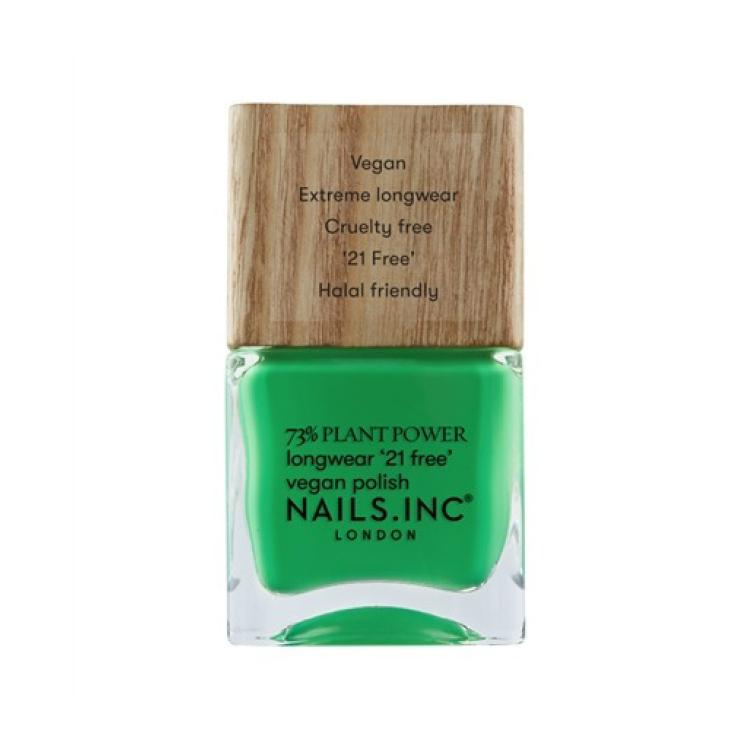
Nails Inc. Plant Power Nail Polish in Mother Earths Calling
Buy now: €10.45 at LookFantastic
Buy now: £9.00 at Nails Inc
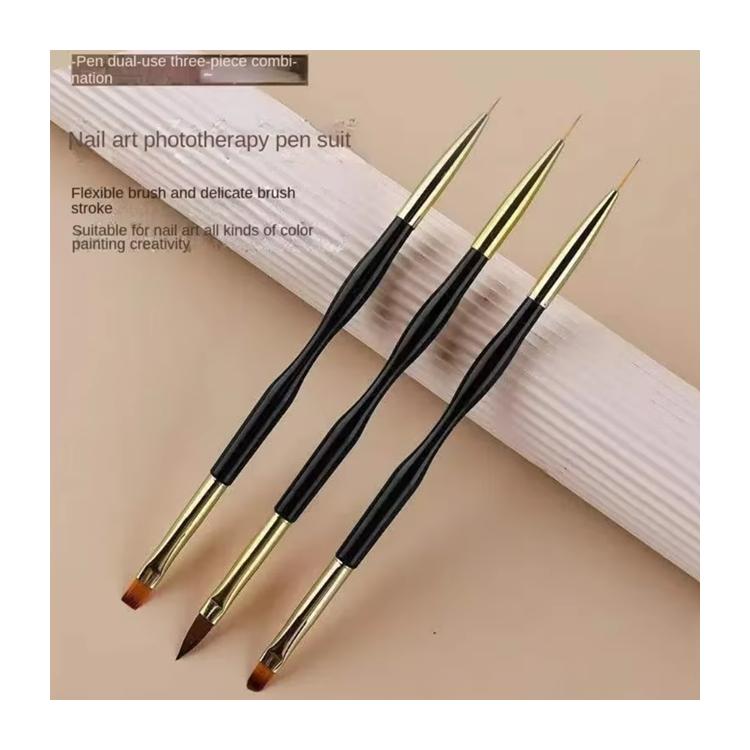
3 Pieces Ultra-Thin Line Drawing Nail Brush Set
Buy now from AliExpress
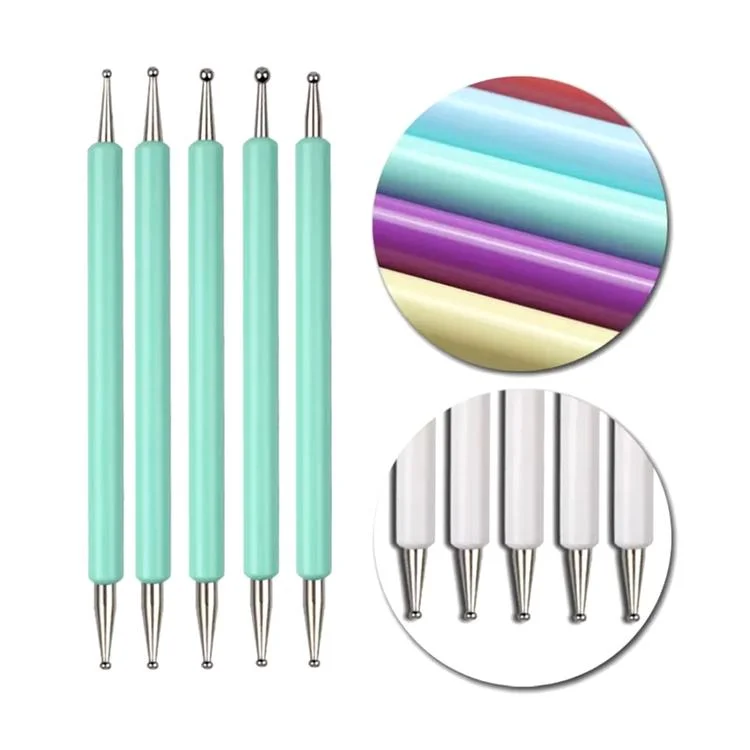
5 Pieces Dual-Ended Nail Art Dotting Tools
Buy now from AliExpress
- - - Advertisement - - -
Product Suggestions – USD
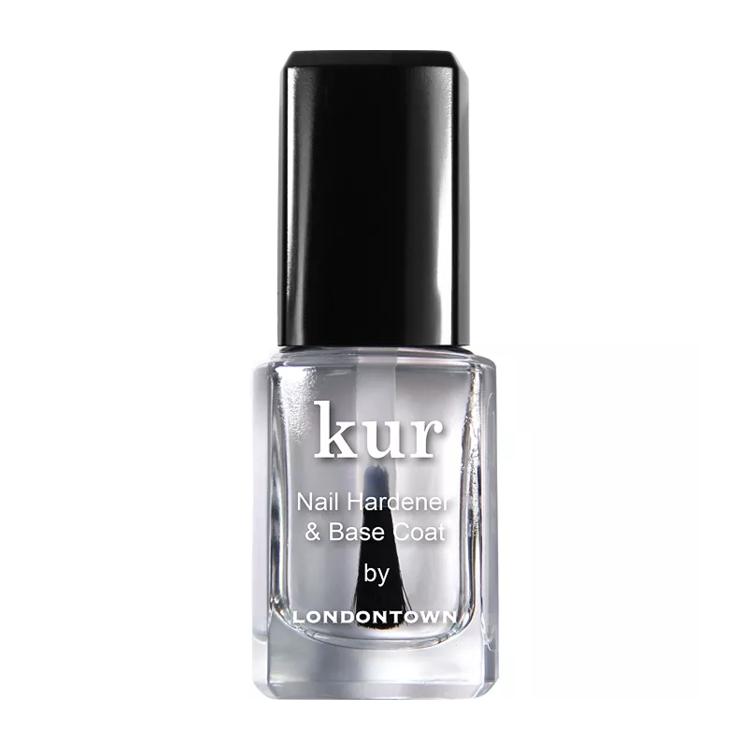
Londontown Nail Hardener & Base Coat
Buy now: $20.00 at Bloomingdale’s
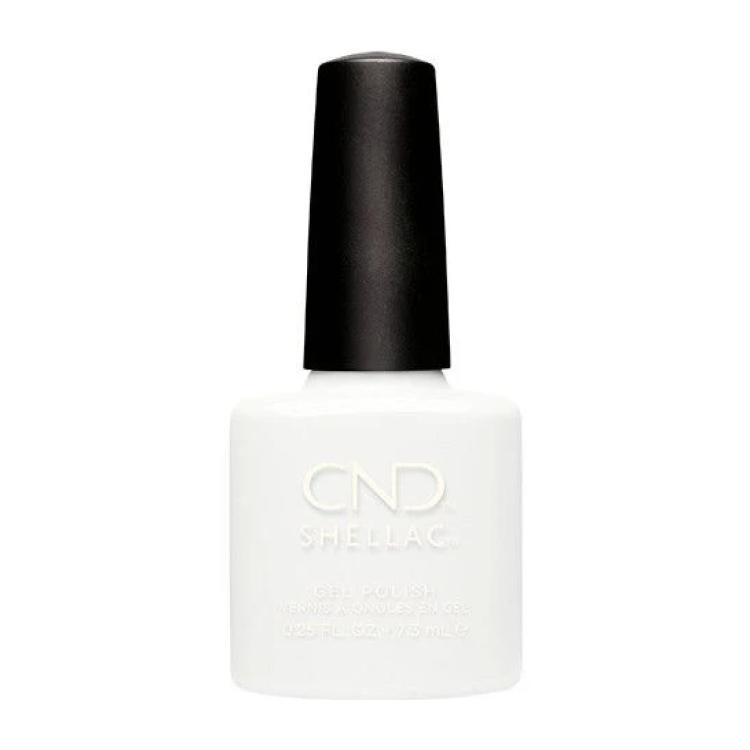
CND Shellac Studio White
Buy now: $16.50 at Beyond Polish
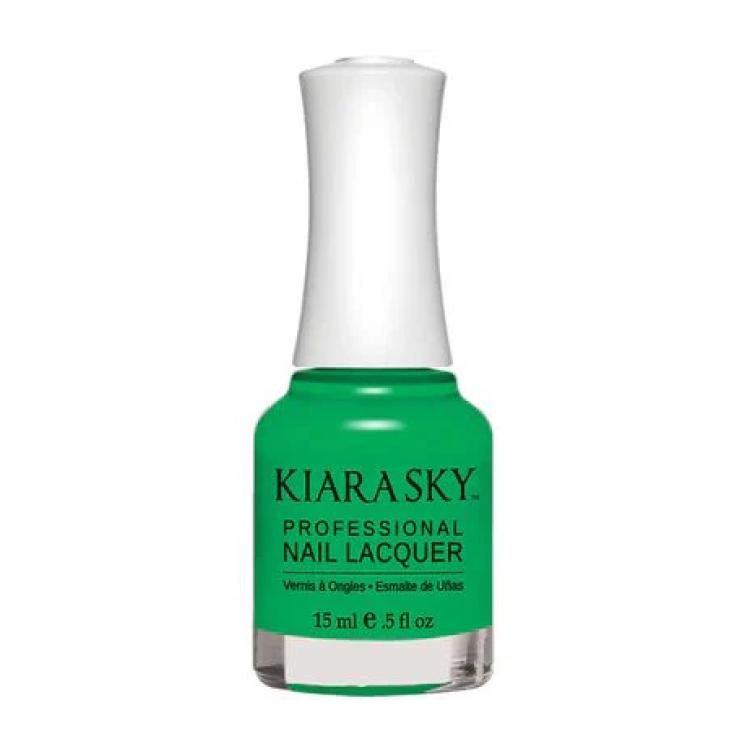
Kiara Nail Polish In Sky Green With Envy
Buy now: $8.50 at Beyond Polish
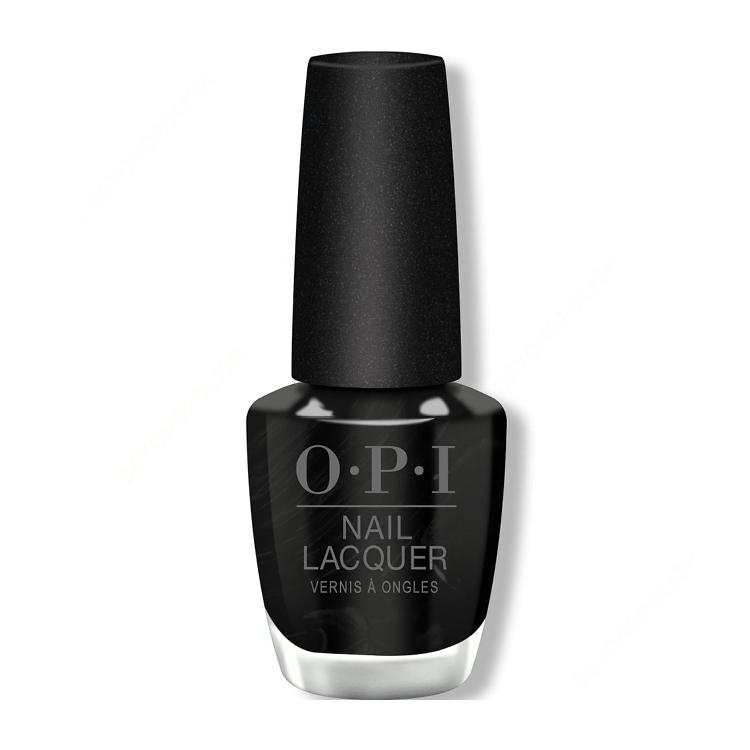
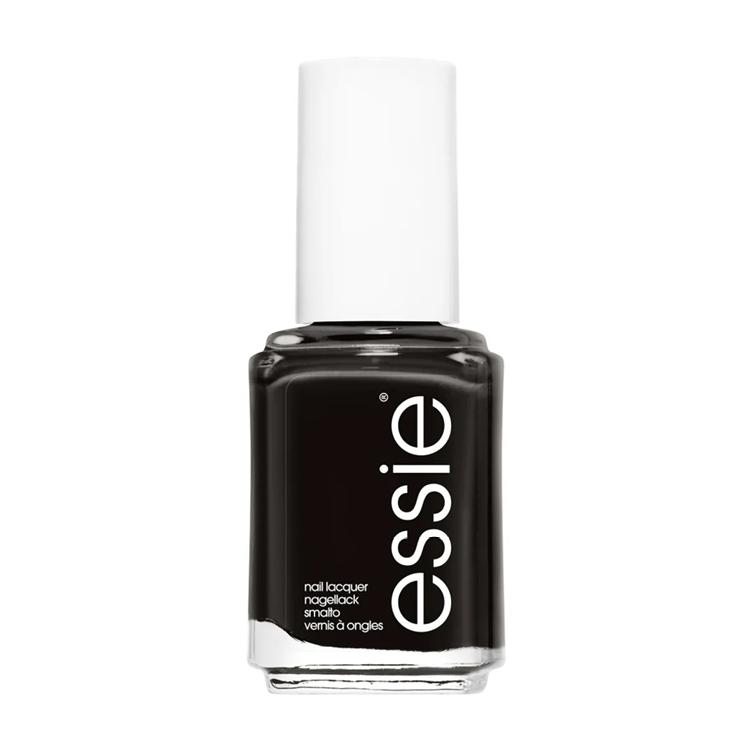
OPI Nail Lacquer in Black Onyx
Buy now: $9.25 at Beyond Polish
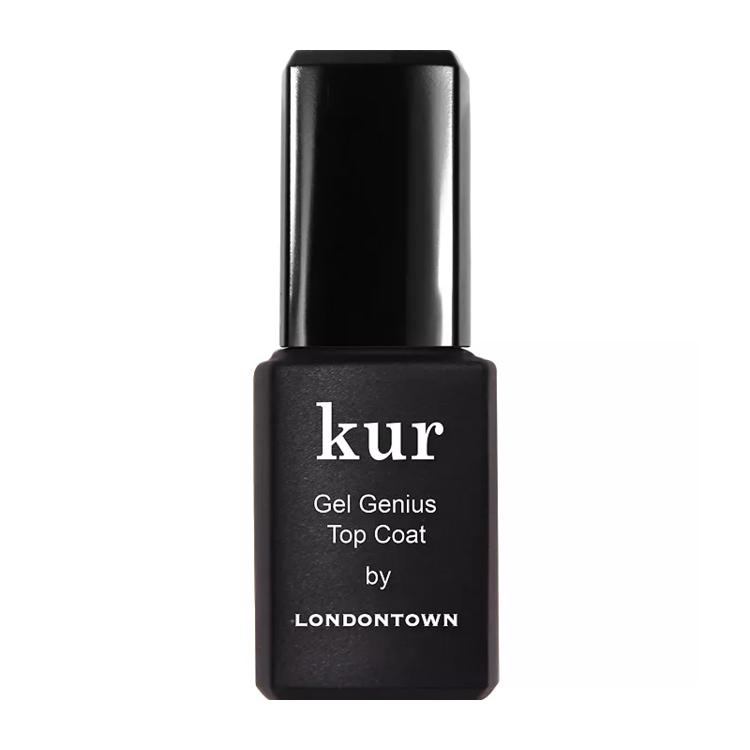
Londontown Gel Genius Top Coat
Buy now: $20.00 at Bloomingdale’s
3 Pieces Ultra-Thin Line Drawing Nail Brush Set
Buy now from AliExpress
5 Pieces Dual-Ended Nail Art Dotting Tools
Buy now from AliExpress

London College of Fashion alumna (PGCert Fashion Buying & Merchandising). 15 years in fashion across styling, buying & merchandising, trend forecasting, e-commerce, and marketing. Includes roles at Vivienne Westwood and multi-brand retail stocking 50+ brands including Adidas, Nike, and Puma.